
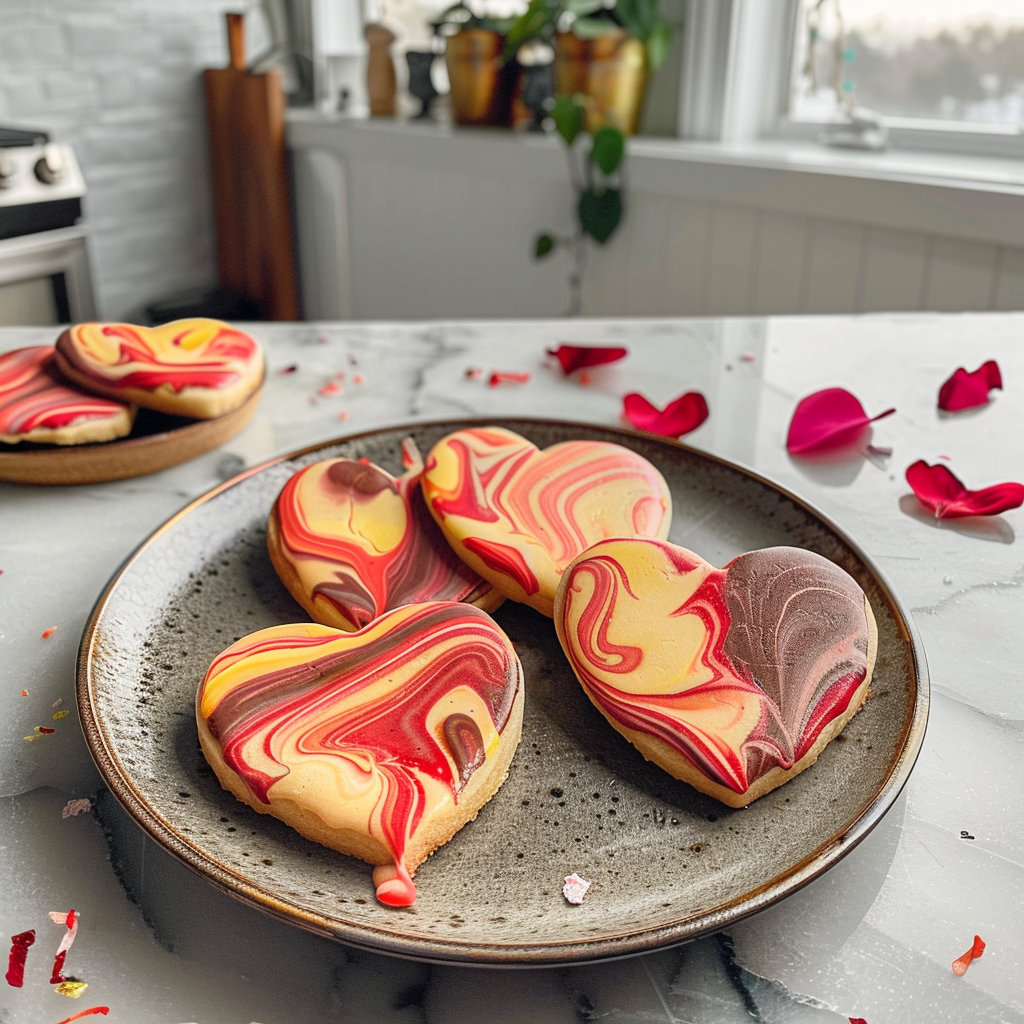
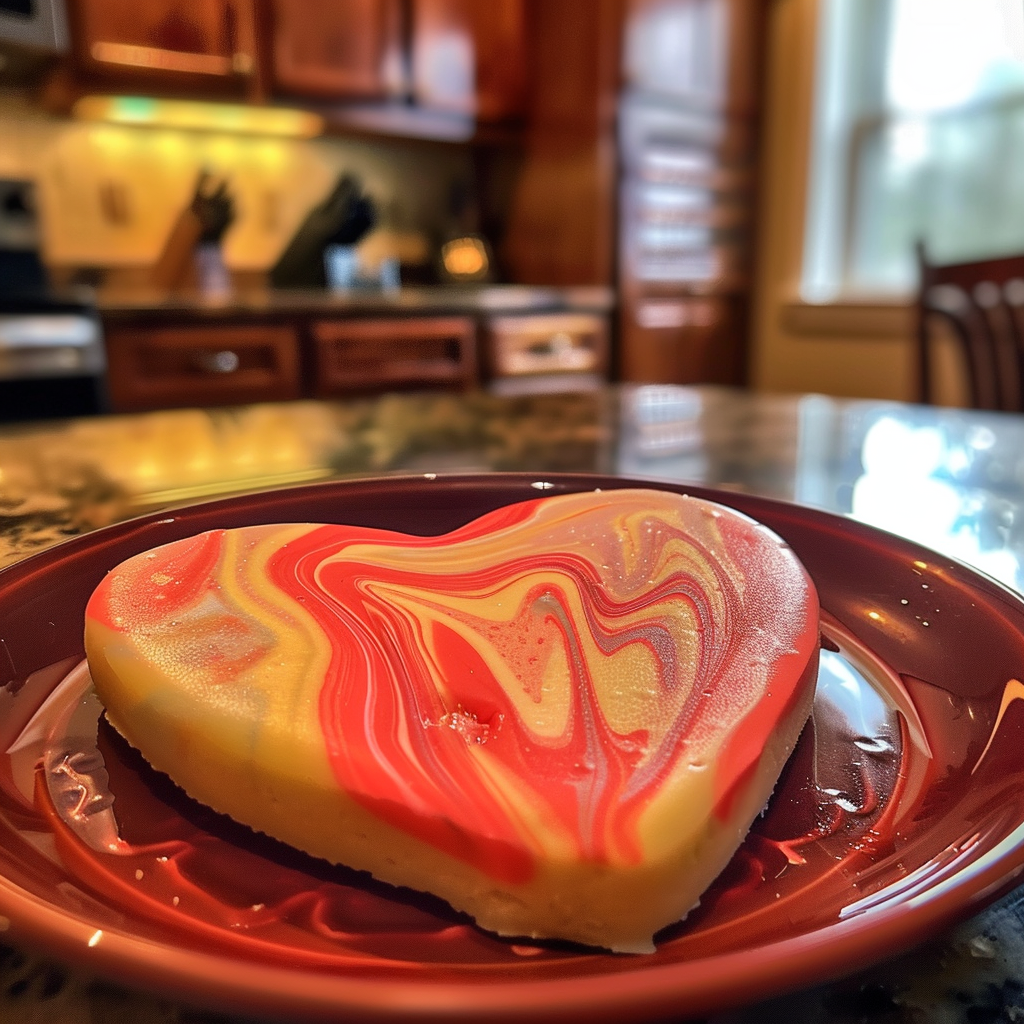
Valentine’s Day Marbled Sugar Cookies are not just your average sweet treat; they’re a delightful dance of flavor and color that will make your heart skip a beat. Imagine biting into a soft, buttery cookie that’s both tender and crisp, with swirls of vibrant colors peeking through like the excitement of love in the air. hot cocoa bombs for Valentine’s The aroma wafts through your kitchen, intoxicating and sweet, making it impossible to resist sneaking one before they even cool down.
As the holiday approaches, these cookies become more than just a dessert; they’re a symbol of affection and creativity. I remember baking these with my best friend for our first Valentine’s Day as single ladies—a hilarious disaster filled with laughter and flour fights that turned into a cherished memory. With their stunning visual appeal and delightful taste, they are perfect for sharing with loved ones or indulging in solo while binge-watching rom-coms. For more inspiration, check out this Irresistible Hot Honey Flatbread Pizza recipe.
Why You'll Love This Recipe
- These cookies are super easy to make, perfect for any skill level in the kitchen
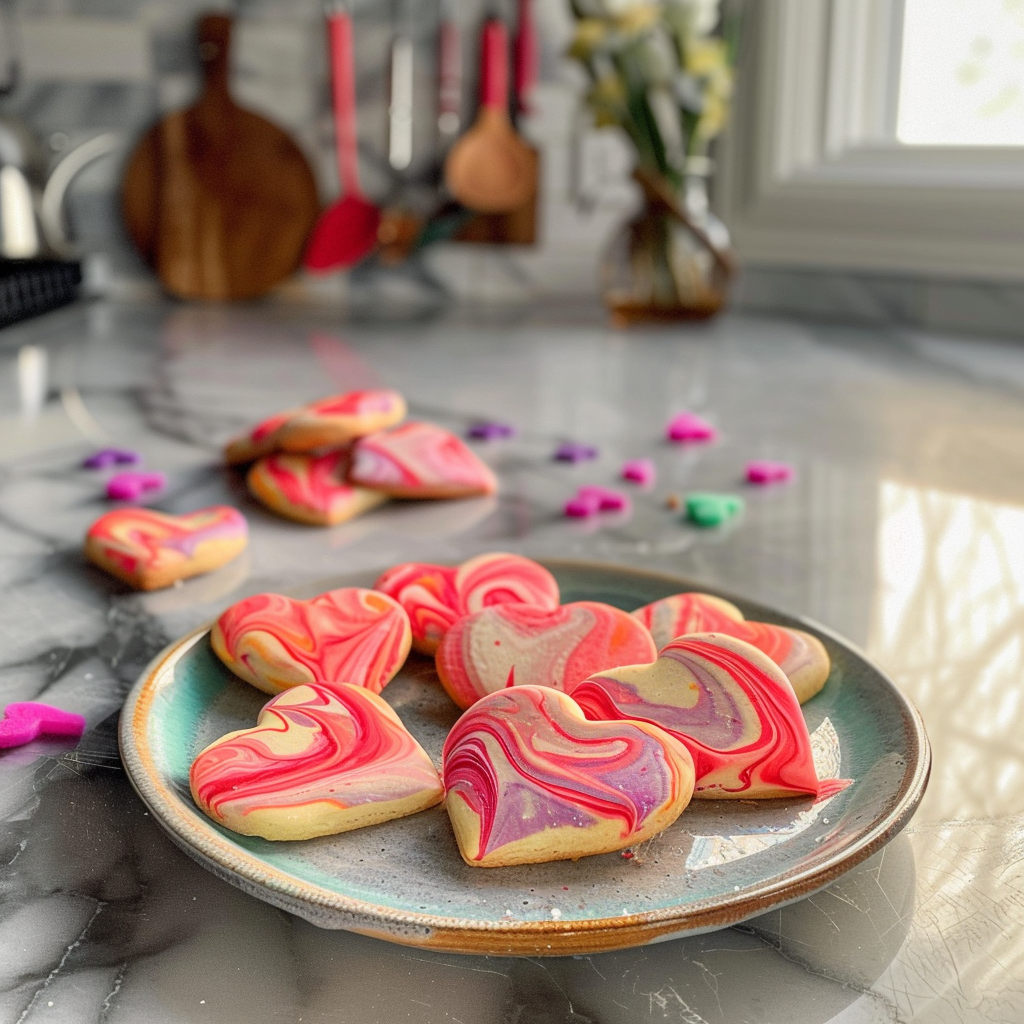
- Their beautiful marbled design makes them visually appealing and festive
- The buttery flavor combined with sweet sprinkles enhances their taste profile beautifully
- You can customize them for any occasion by changing colors or adding different flavors
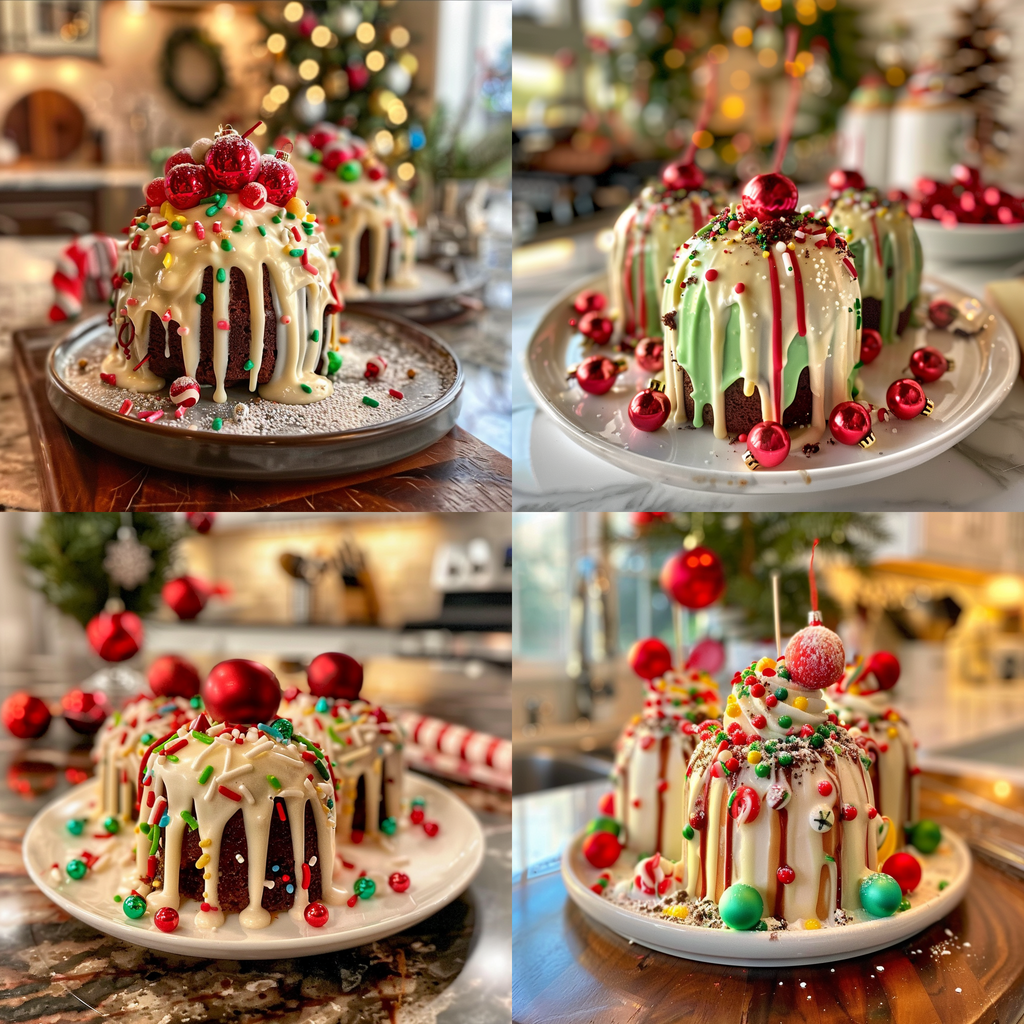
I’ll never forget the looks on my family’s faces when I surprised them with these colorful treats—they devoured them instantly! heart-shaped cake surprise. irresistible heart cake.
Essential Ingredients
Here’s what you’ll need to make this delicious dish:
-
All-Purpose Flour: Use high-quality flour for the best texture; it forms the backbone of your cookies.
-
Granulated Sugar: Regular sugar adds sweetness and helps create that perfect chewy texture we crave.
-
Baking Powder: A pinch of this magical ingredient helps your cookies rise beautifully.
-
Butter: Unsalted butter is best; it gives richness without adding extra saltiness.
-
Eggs: One large egg binds everything together; feel free to use a flax egg for vegan options.
-
Vanilla Extract: Pure vanilla extract adds depth; avoid imitation for a more authentic flavor.
-
Food Coloring: Gel food coloring works wonders here; it won’t change the cookie’s texture while providing vibrant hues.
-
Sprinkles (Optional): Add fun sprinkles to give your cookies an extra festive touch—perfect for Valentine’s Day!
The full ingredients list, including measurements, is provided in the recipe card directly below.
Let’s Make it Together
Prep Your Kitchen: Start by preheating your oven to 350°F (175°C). Line two baking sheets with parchment paper to prevent sticky situations later.
Mix Dry Ingredients: In a large bowl, whisk together flour and baking powder until well combined. This step ensures even distribution of leavening agents for light cookies.
Cream Butter and Sugar: In another bowl, cream softened butter and granulated sugar until light and fluffy—about 3-4 minutes should do the trick. It should feel airy; this is where magic begins!
Add Eggs and Vanilla: Beat in one egg along with vanilla extract until fully incorporated. The mixture should be smooth and creamy—think cozy blankets on a chilly day. For more inspiration, check out this Creamy White Bean Lemon Soup recipe.
Combine Dry Ingredients with Wet Ingredients: Gradually mix dry ingredients into wet ingredients until just combined. Be careful not to overmix to keep those cookies tender!
Create Cookie Colors: Divide the dough into separate bowls based on how many colors you want to create. Add gel food coloring to each portion, mixing until evenly colored—this is where you can unleash your inner artist!
Create Marble Effect: Scoop small portions of different colored dough onto each baking sheet, mixing slightly but not fully blending. This creates that beautiful marbled effect we all love.
Bake Until Golden Brown: Bake cookies for 10-12 minutes or until edges turn golden brown. Keep an eye on them since every oven behaves differently—trust me, burnt cookies are no fun!
Once out of the oven, let them cool on the sheet for a few minutes before transferring them to wire racks to cool completely. You might want to put some sprinkles on top while they’re still warm for extra flair!
And there you have it! With each bite of these Valentine’s Day Marbled Sugar Cookies, you’ll enjoy a delightful mix of sweetness and love—a perfect treat whether you’re celebrating romance or friendship! Valentine brownies to impress.
You Must Know
- These Valentine’s Day Marbled Sugar Cookies are not just visually stunning; they taste fantastic too!
- The blend of buttery sweetness and colorful swirls makes them perfect for impressing loved ones
- Plus, they’re a delightful way to get creative in the kitchen!
Perfecting the Cooking Process
Start by creaming the butter and sugar until fluffy, then gradually mix in the eggs and vanilla before adding dry ingredients. This sequence ensures even texture and better flavor distribution.
Add Your Touch
Feel free to swap vanilla extract for almond extract or add sprinkles for extra fun! You can also experiment with different food colorings to make your cookies uniquely yours.
Storing & Reheating
Store cookies in an airtight container at room temperature for up to one week. For longer storage, freeze them in a single layer before transferring to a freezer bag.
Chef's Helpful Tips
- Use room temperature ingredients for a smoother dough and better blending
- Always chill your dough before baking to achieve that perfect shape
- Lastly, underbake slightly to keep cookies soft and chewy inside
Every time I bake these cookies, my family lights up with joy—they’re always the highlight of our Valentine’s celebration, and they disappear faster than I can say “sugar rush!”
FAQ
What makes marbled sugar cookies special?
Marbled sugar cookies have a unique visual appeal and delightful flavor combination that captivates everyone.
Can I use different colors for the marbling?
Absolutely! Get creative with various food coloring options to customize your cookie designs.
How do I prevent my cookies from spreading too much?
Chilling the dough before baking significantly helps maintain the shape of your cookies during baking.

Valentine’s Day Marbled Sugar Cookies
- Total Time: 27 minutes
- Yield: Approximately 24 cookies 1x
Description
Valentine’s Day Marbled Sugar Cookies are the perfect blend of beauty and flavor, ideal for celebrating love or friendship. These soft, buttery cookies feature vibrant swirls of color that bring joy to any occasion. With their delightful aroma and sweet taste, they’re hard to resist even before they cool! Create lasting memories while baking these easy-to-make treats with loved ones—whether you’re sharing them or keeping them all to yourself!
Ingredients
- 2 ¾ cups all-purpose flour
- 1 cup granulated sugar
- 1 tsp baking powder
- 1 cup unsalted butter, softened
- 1 large egg
- 1 tsp pure vanilla extract
- Gel food coloring (various colors)
- Sprinkles (optional)
Instructions
- Preheat your oven to 350°F (175°C) and line two baking sheets with parchment paper.
- In a large bowl, whisk together flour and baking powder. Set aside.
- In another bowl, cream softened butter and granulated sugar until light and fluffy (3-4 minutes).
- Beat in the egg and vanilla extract until smooth.
- Gradually add the dry ingredients to the wet mixture until just combined.
- Divide dough into separate bowls; mix gel food coloring into each portion.
- Scoop small portions of different colored dough onto baking sheets, mixing slightly for a marbled effect.
- Bake for 10-12 minutes until edges are golden brown. Cool on sheets before transferring to wire racks.
- Prep Time: 15 minutes
- Cook Time: 12 minutes
- Category: Dessert
- Method: Baking
- Cuisine: American
Nutrition
- Serving Size: 1 cookie
- Calories: 120
- Sugar: 8g
- Sodium: 50mg
- Fat: 6g
- Saturated Fat: 4g
- Unsaturated Fat: 2g
- Trans Fat: 0g
- Carbohydrates: 15g
- Fiber: 0g
- Protein: <1g
- Cholesterol: 20mg
Leave a Comment